

SHOP THE LATEST GEAR, APPAREL, EYEWEAR & ACCESSORIES NOW! SHOP NOW

Have you decided to build your own custom complete skateboard? Follow our steps below for the best results.
Gather your tools and materials. You will need the following:
A gripped deck with punched holes for the trucks. If your deck isn’t gripped yet, then do so… read our past posts below for guidance:
Skateboard Maintenance Series – Grip Taping your Deck

A skate tool to adjust bolts and nuts. Skate tools usually come with a Philips screw driver. If you don’t have one readily available, you can use an adjustable wrench that can be adjusted to 3/8” and a separate Philips screw driver.

Risers (Optional. You might want to use them in instances you have big wheels for your longboard or cruiser. Risers will help prevent the wheels from rubbing against the board)

Two trucks with eight axle washers and four lock nuts

Skateboard hardware (eight pairs of bolts and nuts)

Four wheels

Eight bearings
Choose a flat surface for a work area and bring your tools and materials to it.
If you can have a seat, hold your deck between your legs or let it stand sideways on a flat surface. Insert a bolt on the gripped side to one of the top holes.

Put the truck on the other side of the board, making sure the bolt fits in one of the holes of the baseplate of the truck. The truck should be positioned in a way that the kingpin and bushing is towards the center of the board. If you are using risers, sandwich it between the deck and the baseplate.

Put a nut on the bolt and twist it around. Insert the other bolts in the three other holes of the trucks putting a nut after each one. Tighten the bolts and nuts with the skate tool and Philips screw driver. A good way to balance the ‘hold’ on the baseplate is to tighten the nuts in a crisscross pattern (start with top-left, then bottom-right, go top-right, and last bottom-left or in another order you will be comfortable with).

Take your wheels out of its plastic wrap.

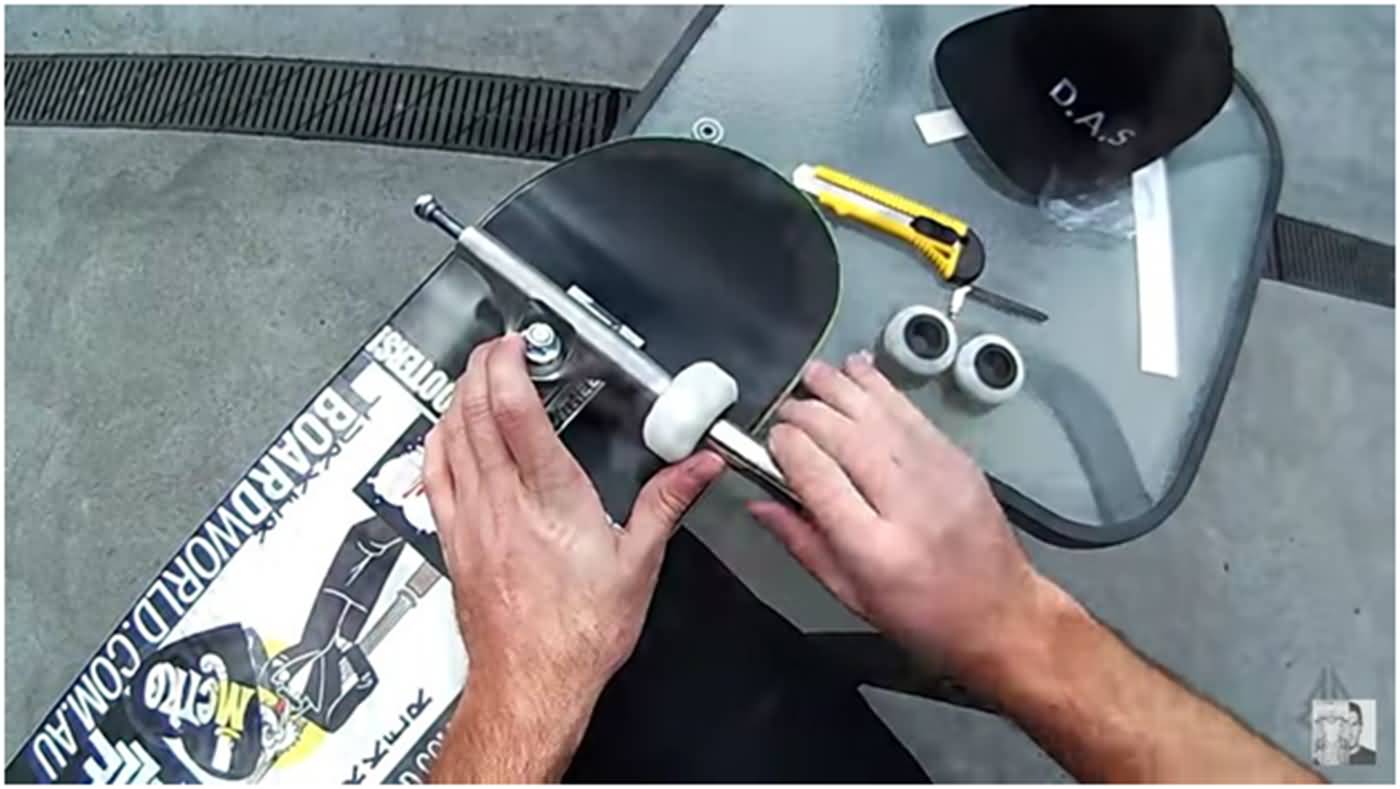
Remove the hardware at the end of the axle to where you are going to attach your wheels.

Insert a bearing on each side of the wheel. For harder wheels, you can put one bearing on the axle and push the wheel against it. Remove it after and put another bearing on the axle. Return the wheel again on the side without bearing and push it towards the bearing.

Attach the wheels to the axle of the truck. Make sure there are washers on each side of the wheel. These will help the wheels to spin smoothly.

Tighten the lock nut of the truck using the skate tool. Finish putting the other three wheels.

Test the wheels by rolling them with your fingers. Test the trucks as well. Check for any left-over hard ware. Make sure you have used and placed all of the needed bolts and nuts.

Test your board by riding it for a short distance.

Adjust with a skate tool the nut on the trucks’ kingpin if you find turning too hard. Most beginners will benefit from tight trucks as there would be one less problem to deal with. However, as a skater gains control of the board, a looser truck would be better.

Once your desired movement is achieved, put your tools back to their proper places.
It’s time to go and skate!!
Photo Credits:
Youtube user Baskwith. https://www.youtube.com/watch?v=mc0Br706cp8
Among a host of other unusual athletic competitions, skateboarding will make its debut ...
Charles Michael "Bucky" Lasek (/ˈleɪsɪk/ LAY-sik; born December 3, 1972) is a professio...
As you learn to ollie, begin trying it up and off obstacles. You’ll need a place where ...

Wishlist are temporary to this session Only . your product(s) will not be saved permanently.